View an Invoice Report
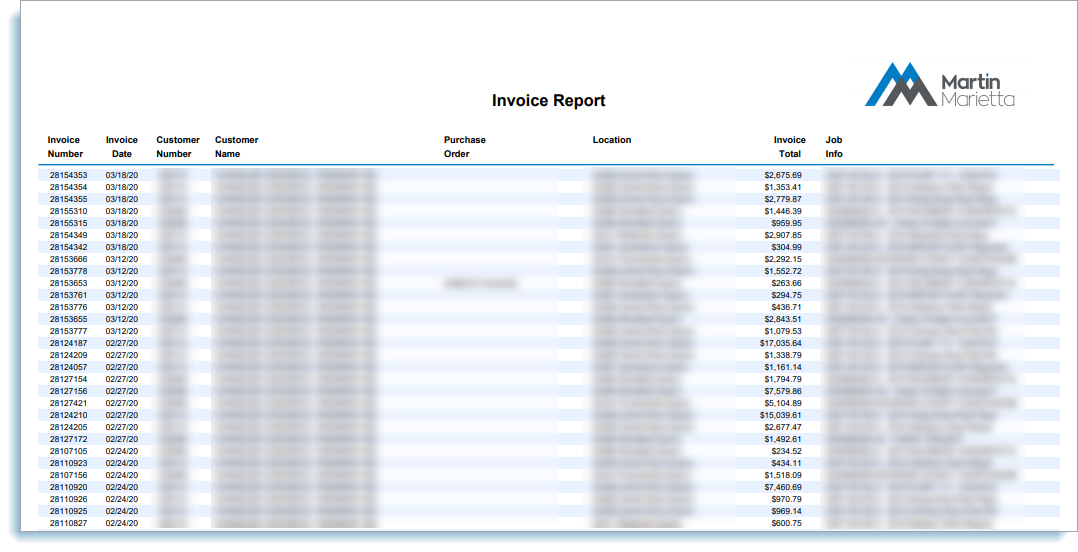
Invoice reports are line item summaries of all of a companies eRocks invocies. Invoices do not need to be selected from the list to run the report.
View PDF Report
To view a PDF invoice report:
-
Open the invoice page within eRocks (Opens a new tab)
-
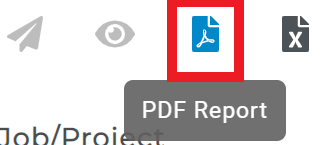
Click the PDF Report icon
-
Wait for the invoice report PDF to download
-
Click the download link to open the report
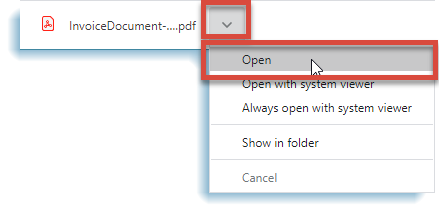
NOTE: The invoices open as a single file in a new browser or in the systems selected PDF reader.
View Basic CSV Report
To view a CSV invoice report:
- Open the invoice page within eRocks (Opens a new tab)
-
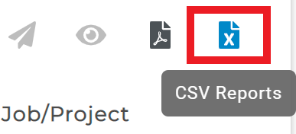
Click the CSV Reports icon
-
Wait for the CSV Reports dialog to display
-
Click the download icon for the report to download

-
Wait for the CSV file of the report to download
-
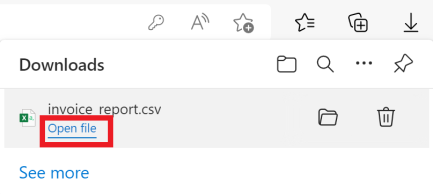
Click the download link to open the report file
-
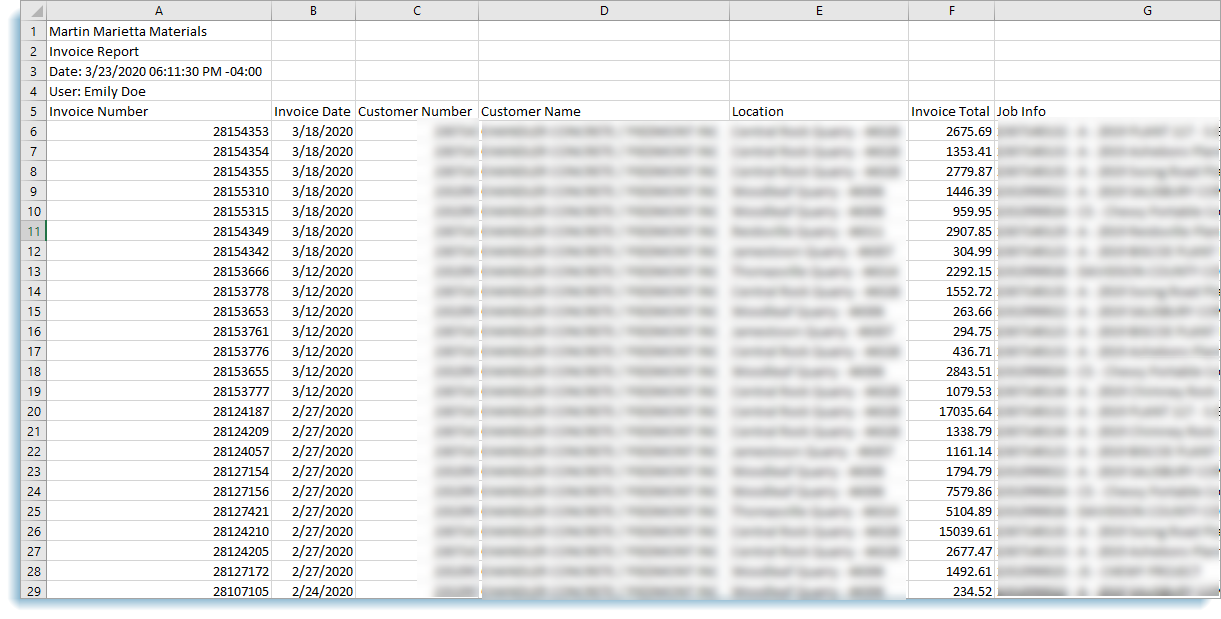
Wait for the invoice report to open in Excel
Custom Invoice Report
Custom invoice reports can be created and saved using any of the available fields. The saved report is added to the list of reports in the CSV Reports dialog. Custom reports can be edited or deleted as needed.
-
Open the invoice page within eRocks (Opens a new tab)
-
Click the CSV Reports icon
-
Wait for the CSV Reports dialog to display
-
Click "Create Custom Report"

-
Wait for the "Create Custom Template" dialog to display
-
Enter the report name
-
Enter the description
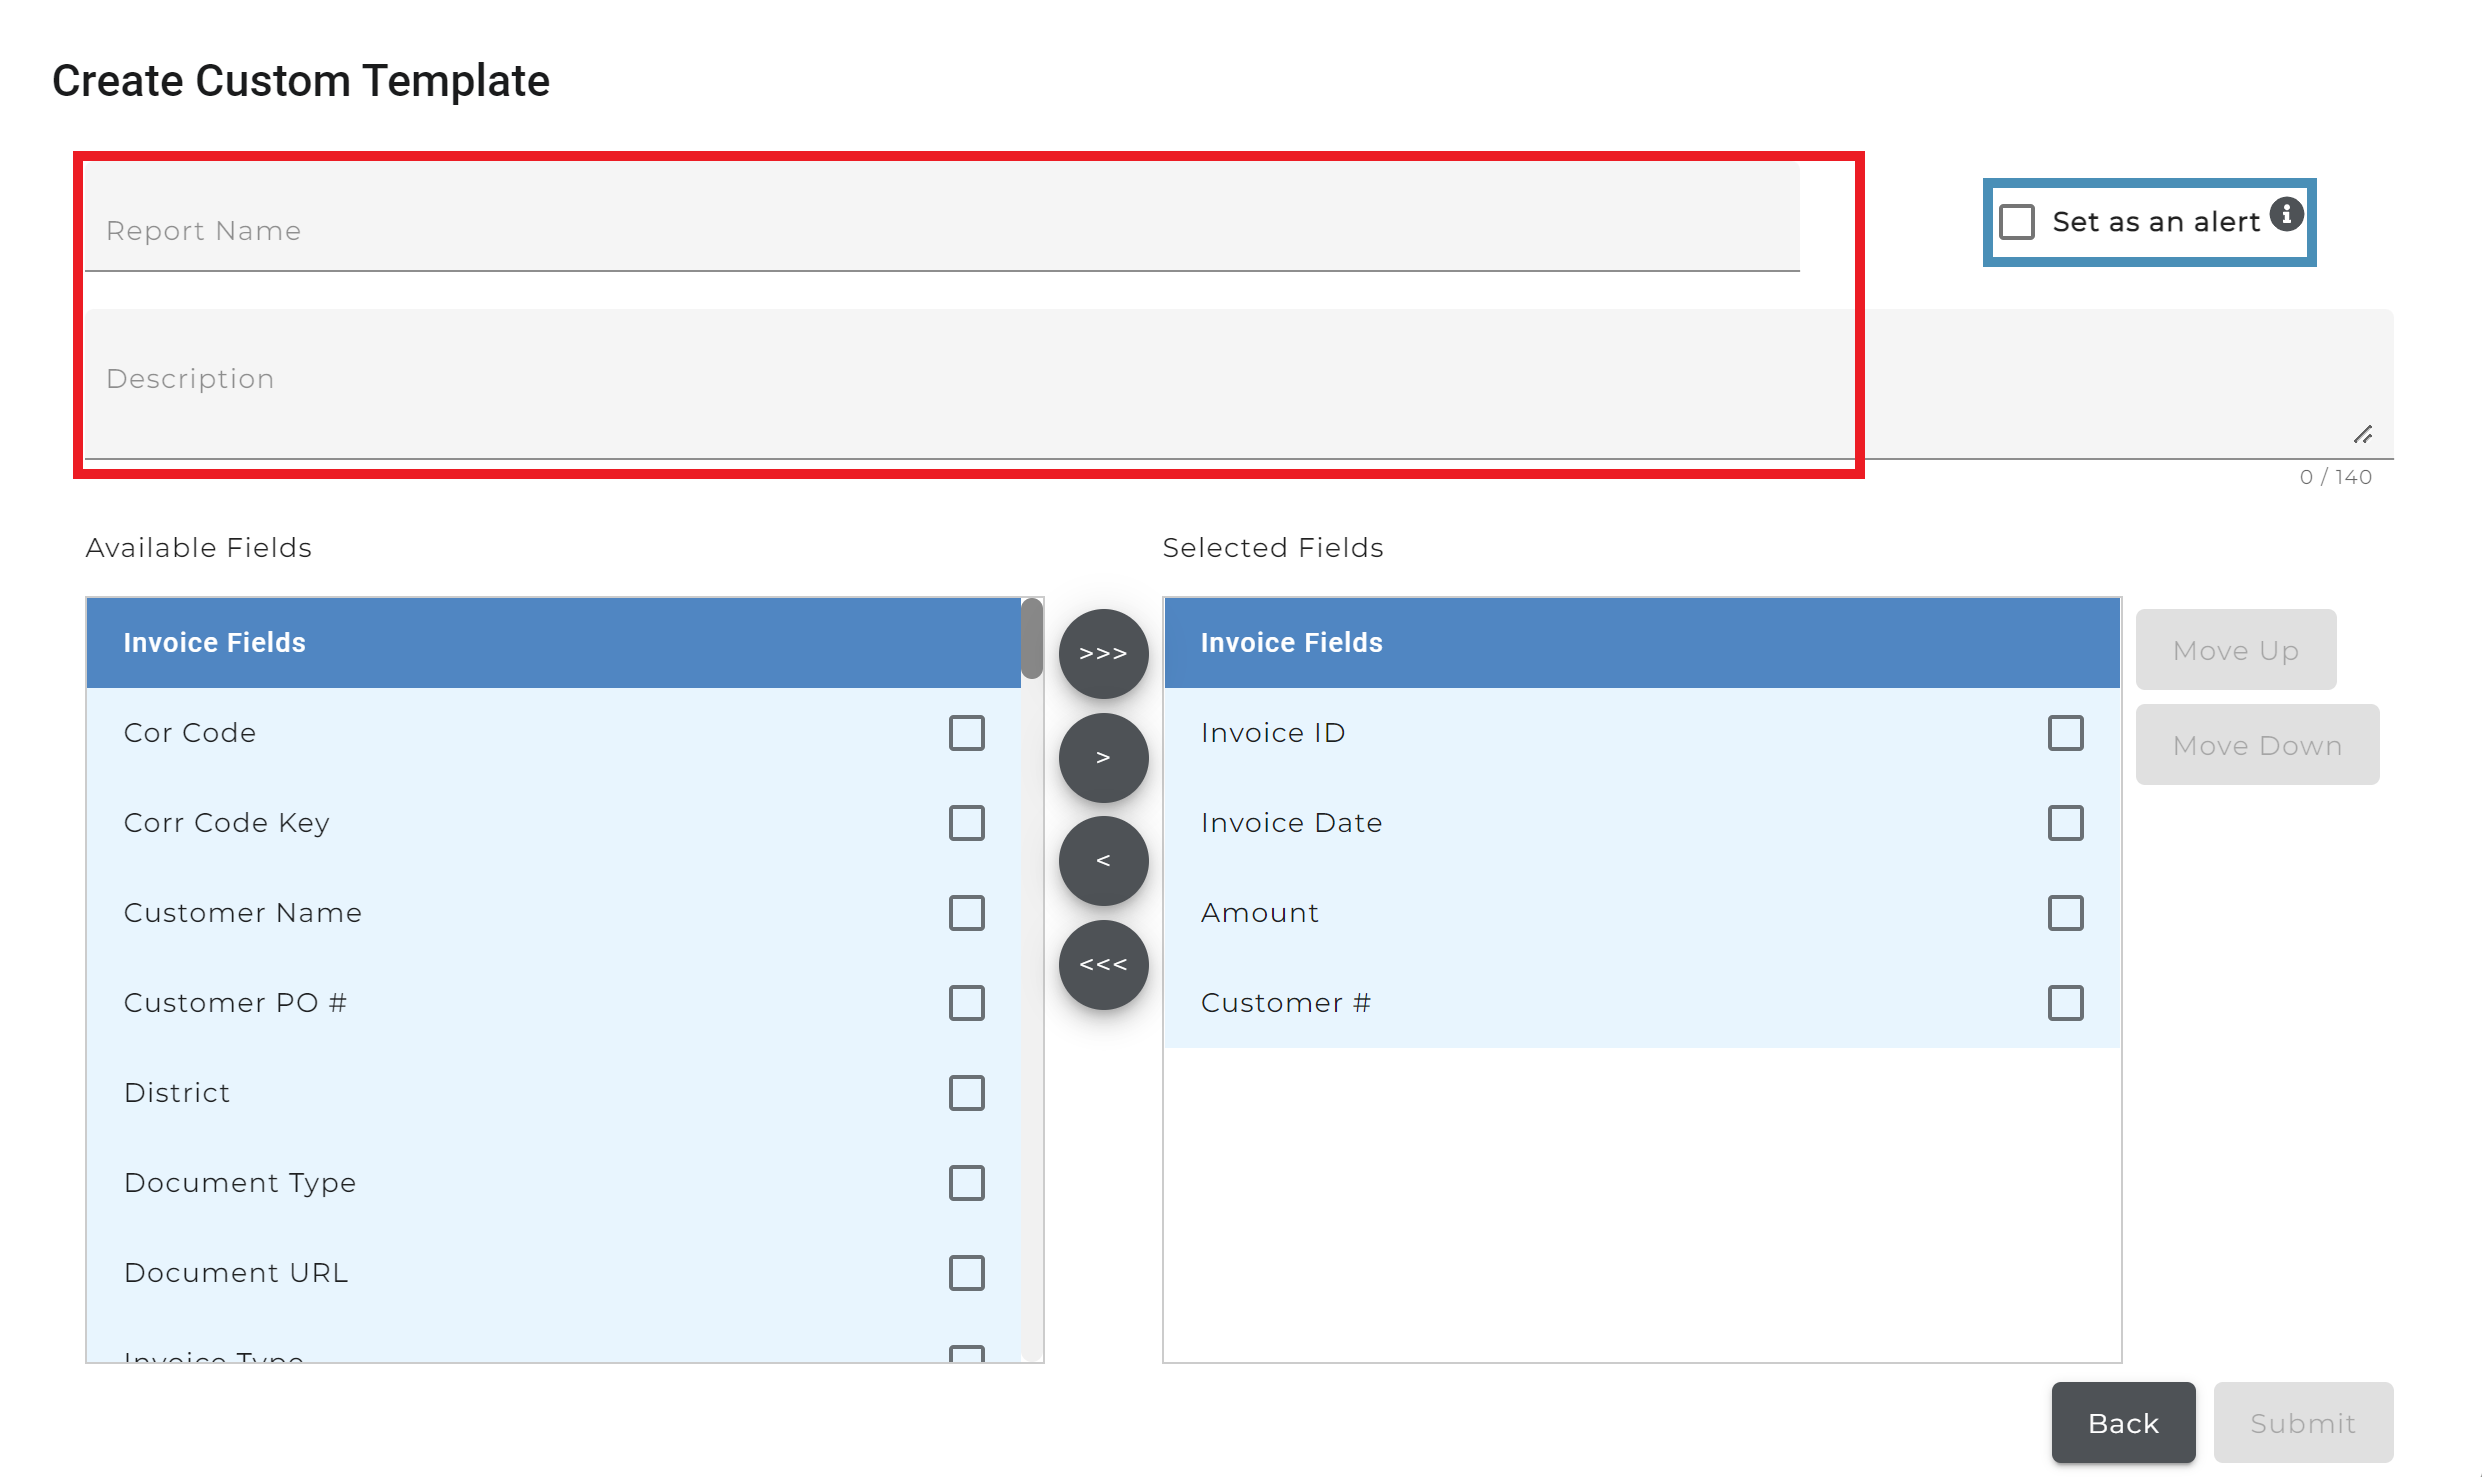
NOTE: Custom reports can now be set up as an invoice alert in addition to the alerts that the user is subscribed to. Check the "Set as an Alert" checkbox. Please be aware that you can only subscribe up to 3 Custom Invoice CSV Reports.
-
Check the boxes for the fields to individually add them
-
Click the forward single arrow icon

-
OR Click the forward three arrow icon to add all fields

NOTE: Available and Selected Fields lists are scrollable.
-
Click the backward single arrow to remove individual fields

-
OR Click the triple back arrow to remove all fields

-
Check a field's checkbox
-
Click "Move Up" or "Move Down" to change the field order


-
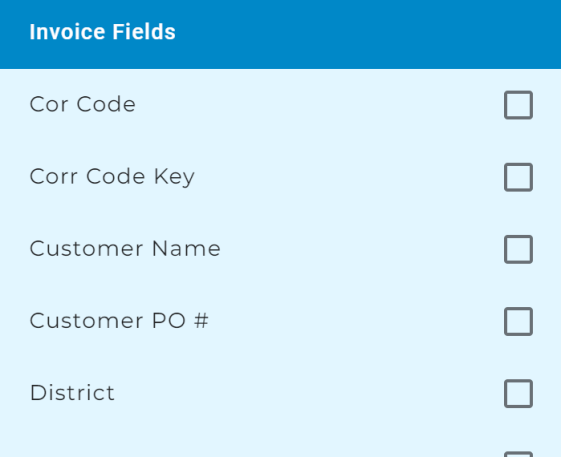
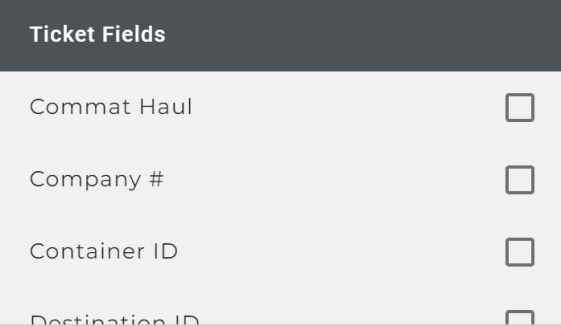
Choose from the "Invoice" and "Ticket" fields
-
Click "Submit" when done

-
Verify that eRocks added the report to the CSV Reports list

-
Click the download icon to run and download the report

-
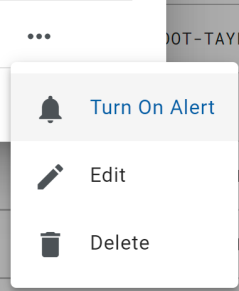
Click the three dot icon to open the actions menu. From the actions menu, users can
-
Subscribe/Unsubscribe to reports
-
Edit the report
-
Delete the report
NOTE: To modify which CSV reports or which customer numbers to receive the custom report for hover over your name and click "Alerts". Scroll to the bottom to modify the alert.
